Setting Up S/MIME Email Encryption in Outlook Desktop
If you use Outlook to send sensitive or business-critical emails, S/MIME is one of the few security features that actually changes how messages are handled without changing how you work. Once configured, it allows Outlook to sign emails by default and encrypt messages when recipient certificates are available.
The only real challenge is the initial setup. Outlook relies on the Windows certificate store, Trust Center settings, and the correct certificate binding to your email address. This article breaks down that process step by step, so S/MIME works reliably.
Prerequisites to Set Up an S/MIME Certificate in Outlook
-
A valid S/MIME certificate
You have to get a S/MIME certificate which is issued for the exact email address configured in Outlook. If there’s even a small mismatch, Outlook won’t bind the certificate to the account, and signing or encryption won’t be applied to your emails.
-
A supported Outlook and Windows setup
S/MIME works with the Outlook desktop application on Windows because it relies on the local Windows certificate store. Outlook on the web and most mobile clients don’t use locally installed certificates.
-
The correct certificate file format
Outlook requires the certificate in PFX or PKCS#12 format. This format contains both the public certificate and the private key. Files such as CER or CRT usually include only the public portion and can’t be used alone for S/MIME in Outlook.
-
Access to the private key and its password
Email signing and decryption depend entirely on the private key. If the PFX file is missing the private key, or if the import password isn’t available, the certificate cannot be used.
-
The right Windows user profile
The certificate has to be installed under the same Windows user profile that runs Outlook. Installing it for another user or importing it without the private key are the most common S/MIME setup mistakes.
Installing an S/MIME Certificate in Outlook (Windows)
-
Download the S/MIME Certificate
Download the S/MIME certificate from your Certificate Authority in PKCS#12 format (.p12 or .pfx). During the download, you’ll be asked to set a password. The password protects the private key and you’ll need it later when importing the certificate into Outlook.
Store the certificate file and the password securely.
If the CA lets you choose the key algorithm, RSA is recommended for maximum compatibility across Outlook and Exchange environments. ECC support can vary depending on client version and encryption use cases.
-
Open Outlook Trust Center
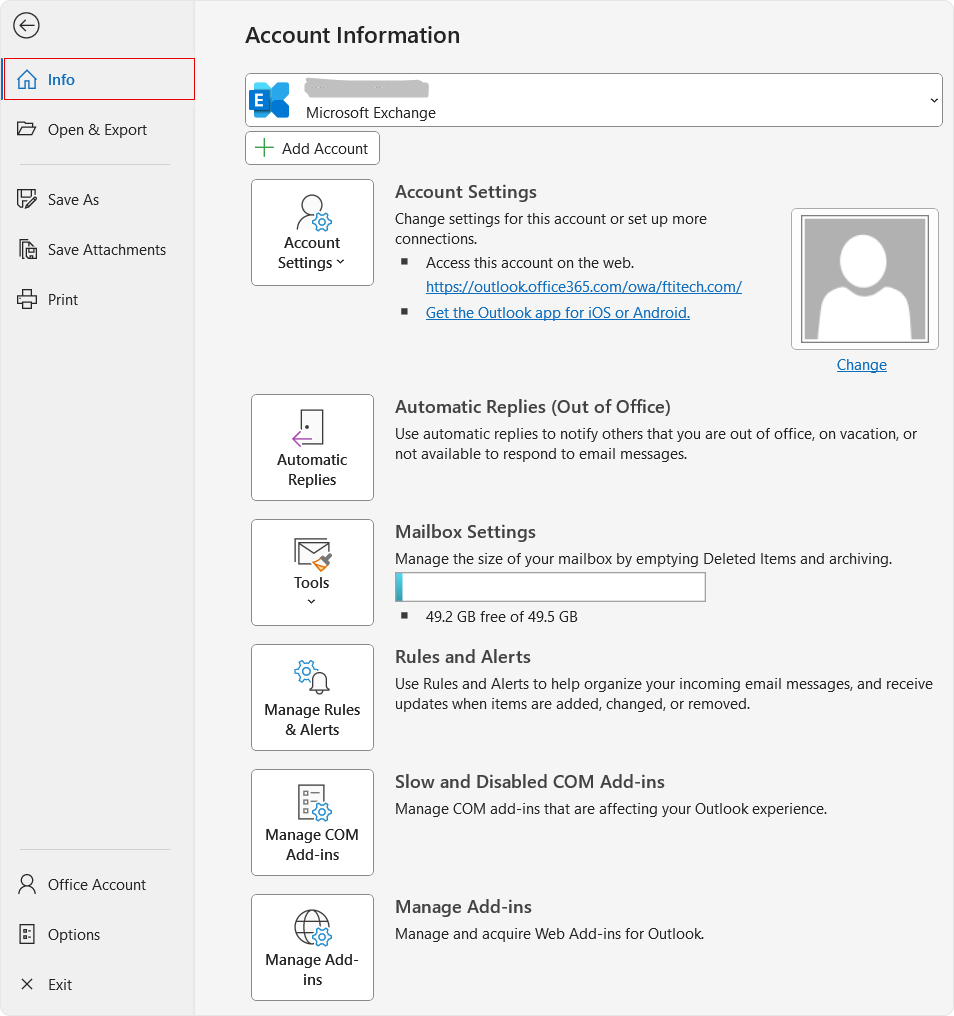
Launch Microsoft Outlook. Select File from the top menu, then open Options.

From the Outlook Options window, select Trust Center, then click Trust Center Settings.

-
Open Email Security
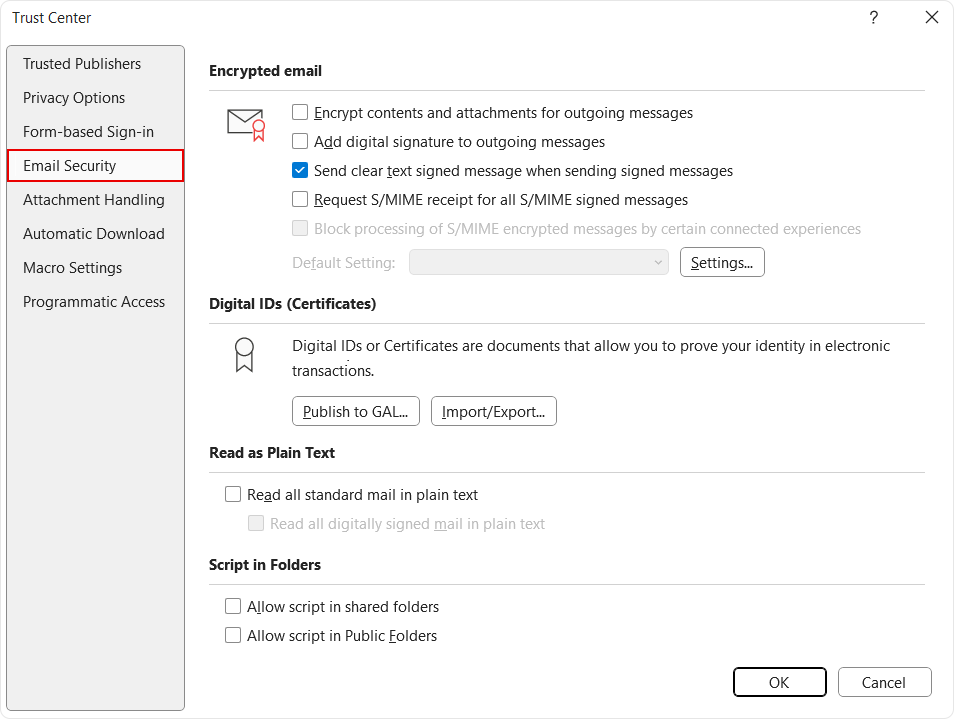
In the Trust Center window, select Email Security. Here, outlook manages S/MIME certificates under Digital IDs.

-
Import the S/MIME certificate
Under Digital IDs (Certificates), select the option Import/Export.
Choose Import existing Digital ID from a file, click Browse and select the downloaded .p12 or .pfx file.
-
Enter the Certificate Password
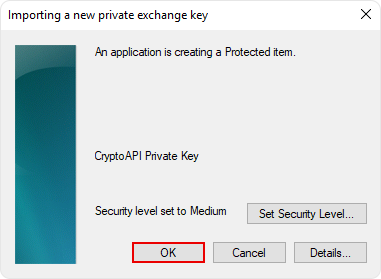
When prompted, enter the password set while downloading the file and click OK. Outlook will decrypt the private key and import the certificate into the Windows certificate store.

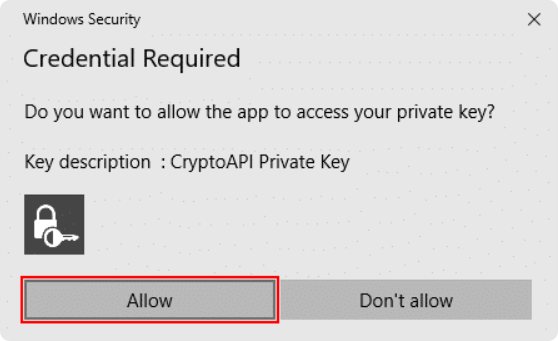
You may see a Windows security prompt asking for permission to access or store the private key. Approve the prompt to complete the import.

-
Open Encrypted Email Settings
Remain in the Email Security section and click Settings under Encrypted email.
This is where Outlook binds the imported certificate to signing and encryption functions.
-
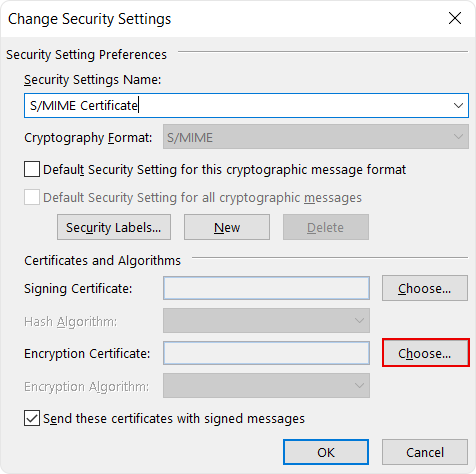
Name the Security Settings
Enter a descriptive name for the configuration.
This name is local to Outlook and is useful if multiple certificates are installed.

-
Select the Signing Certificate
Next to Signing Certificate, press Choose.
If there is only one S/MIME certificate, Outlook will mostly select it automatically. If multiple certificates are available, select the one that matches the sender’s email address.
-
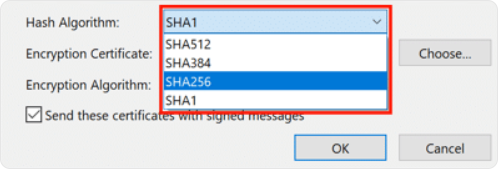
Apply the Hash Algorithm
Set the Hash Algorithm to SHA-256. It is the current standard and confirms compatibility across modern email clients.

-
Select the Encryption Certificate
Next to Encryption Certificate, click Choose and select the same certificate used for signing.
Outlook requires encryption and signing certificates to be explicitly assigned, even when a single certificate supports both.
-
Save the Configuration
Confirm by clicking OK to close the Change Security Settings window.
-
Set Default S/MIME Behavior
Back in the Email Security section, choose how Outlook should handle S/MIME by default. You can enable:
- Digital signing for outgoing messages
- Encryption for outgoing messages
These defaults can be overridden per message when composing emails.
Click OK to close the Trust Center.


Using S/MIME in Outlook
Sign or Encrypt an Email
Create a new email. Under the Options tab, toggle Sign or Encrypt if they aren’t enabled by default.
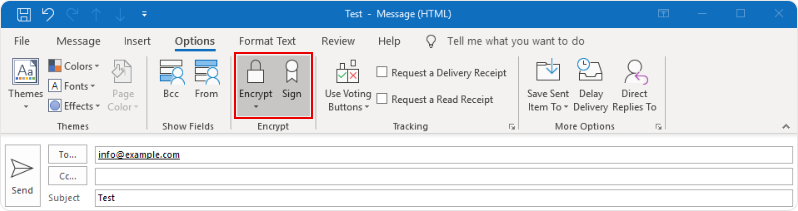
The first time Outlook accesses the private key, Windows may prompt for permission. Allow access so Outlook can complete the operation.
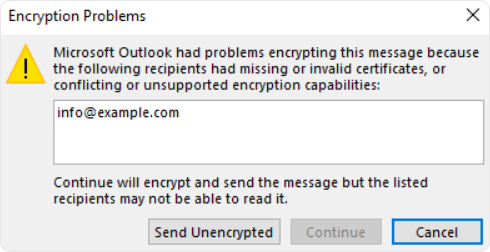
Send Encrypted Emails
Email encryption depends entirely on having access to the recipient’s public key. If Outlook doesn’t already have it, sending an encrypted message will fail.
Public keys are typically exchanged through signed emails.
Add a Recipient’s Public Key
When you get a digitally signed email, Outlook automatically extracts the sender’s public key. A certificate or ribbon icon appears in the message header.
Right click on the sender’s name, tap on Add to Outlook Contacts, and save it. Once contact is stored, Outlook can use that public key to encrypt messages sent to that recipient.
Wrapping Up
Once configured, S/MIME runs quietly in the background. Outlook signs messages, encrypts emails when possible, and enforces trust without adding friction to everyday communication.
As long as certificates are valid and recipient public keys are available, S/MIME provides a reliable layer of email security that fits naturally into existing Outlook workflows.
Related Articles:
