A Brief Guide to Enable SSL in Visual Studio for a .NET Project
In order to active SSL certificate for your .NET project, you have to enable SSL property using Visual Studio. Before enabling this property, make sure that your properties window is visible by navigating to View menu and selecting the option Properties Window. You can also enable this window by using the keyboard shortcut F4.
Once you have enabled the properties window, a new window is displayed which contains all the properties associated with the .NET project. Of the various properties listed here, we are concerned with properties named SSL Enabled and SSL URL.

By default, the property SSL Enabled is set to False and the property SSL URL is blank.
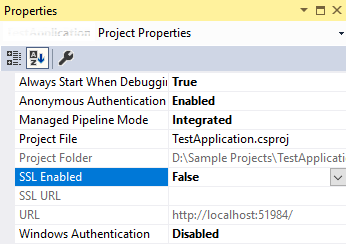
The property SSL Enabled needs to be reset to True. You can do this by selecting option True from the drop-down field displayed for SSL enabled.
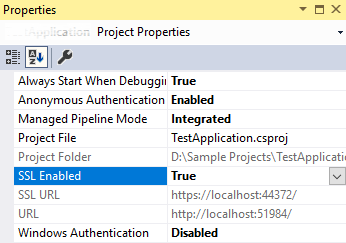
On setting the SSL Enabled property to True, you will now find the SSL URL property auto populated with the new https URL.
Now that you have enabled SSL and possess the new https URL, attempting to access this URL on a browser results in a ‘Your connection is not private’ error.
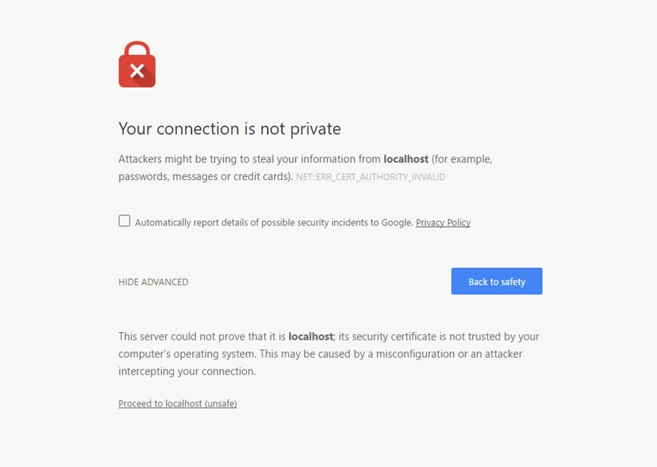
You may ignore this error by clicking on the advanced link, followed by proceed to URL to visit your project URL, however this error will get a little annoying with every visit to the project URL.
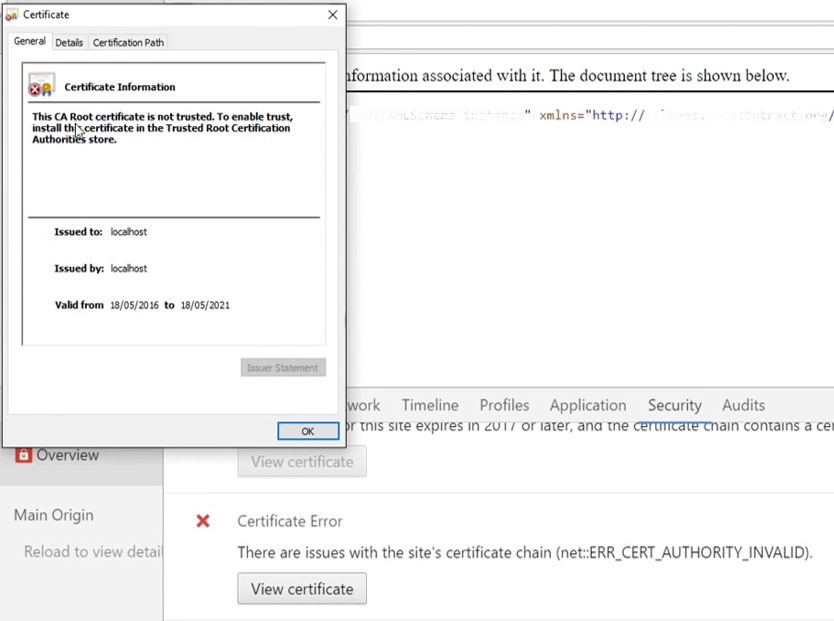
This error is displayed because although a certificate is issued by Visual studio, the certificate is not trusted by your browser for secure access to the website. Therefore, the browser displays a site certificate error.
To add trust to the certificate issued by Visual Studio for your project URL, we need to launch the Microsoft Management Console and add this certificate to Trusted Root Certificate Authorities.
Let us now go through steps that you will need to follow to add a certificate issued to Visual Studio.
-
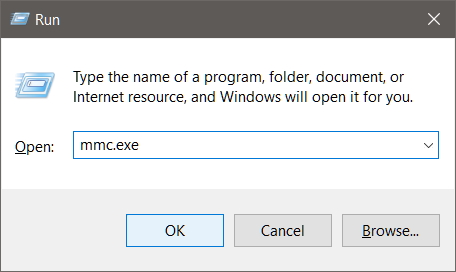
To launch Microsoft Management Console on your windows system, launch the run window to type mmc.exe and then click on the ok button.

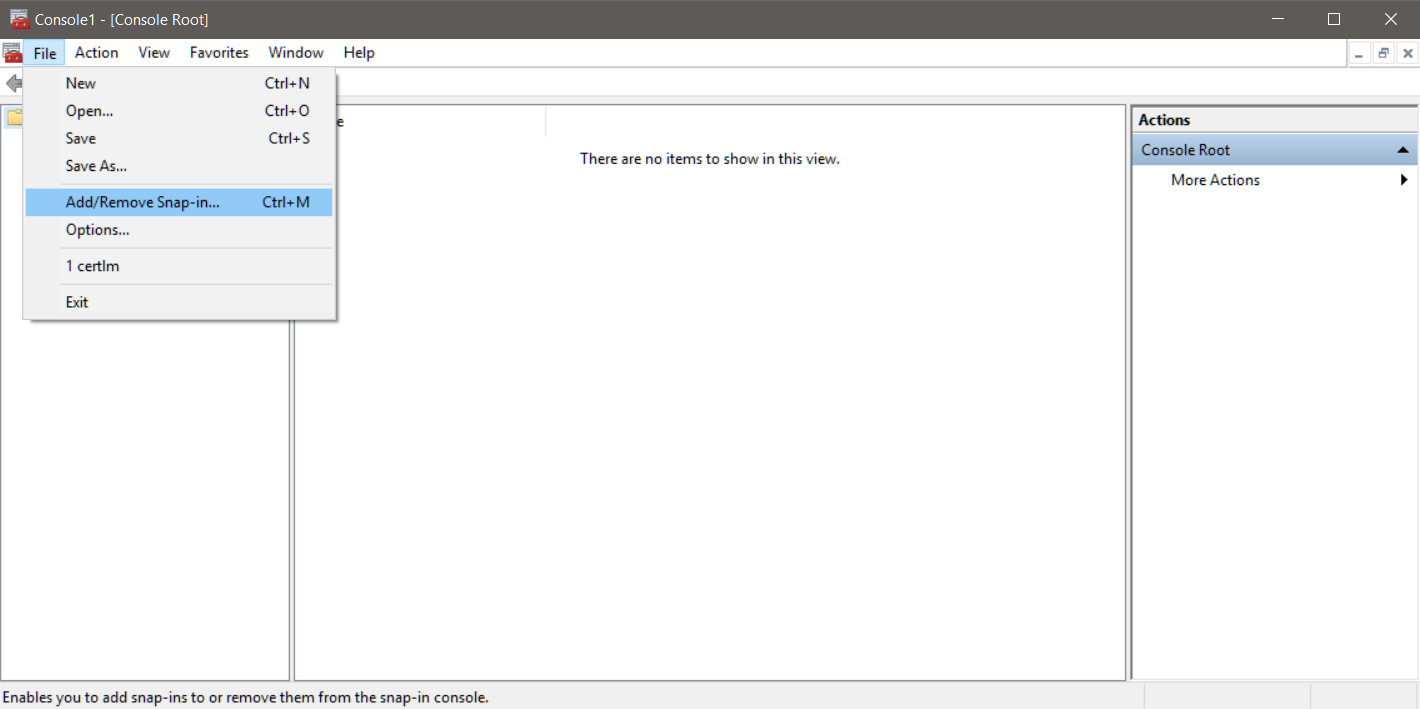
- The system displays the console root window also known as the Microsoft Management Console.
-
Go to File and select Add/Remove Snap In.
Alternatively, you can use Ctrl + M as a keyboard shortcut to launch the Add or Remove Snap-In.
-
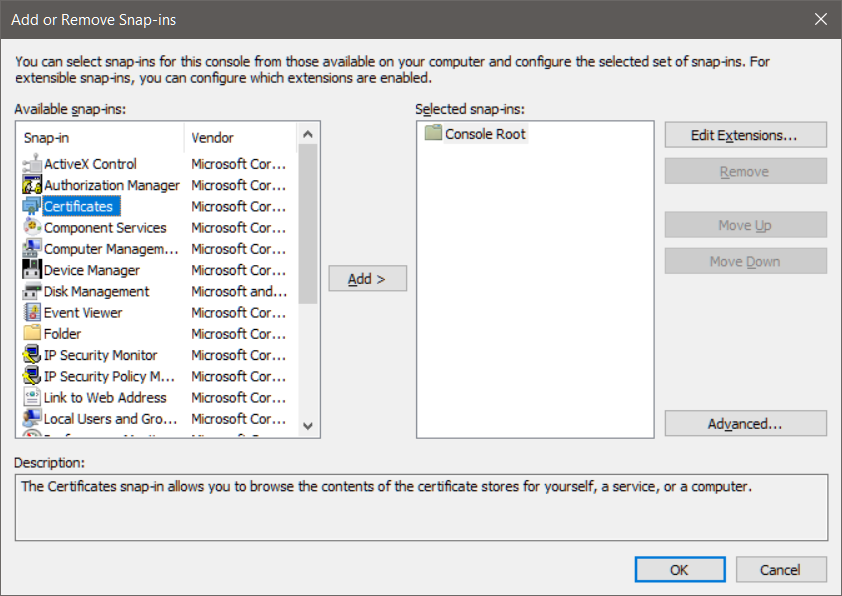
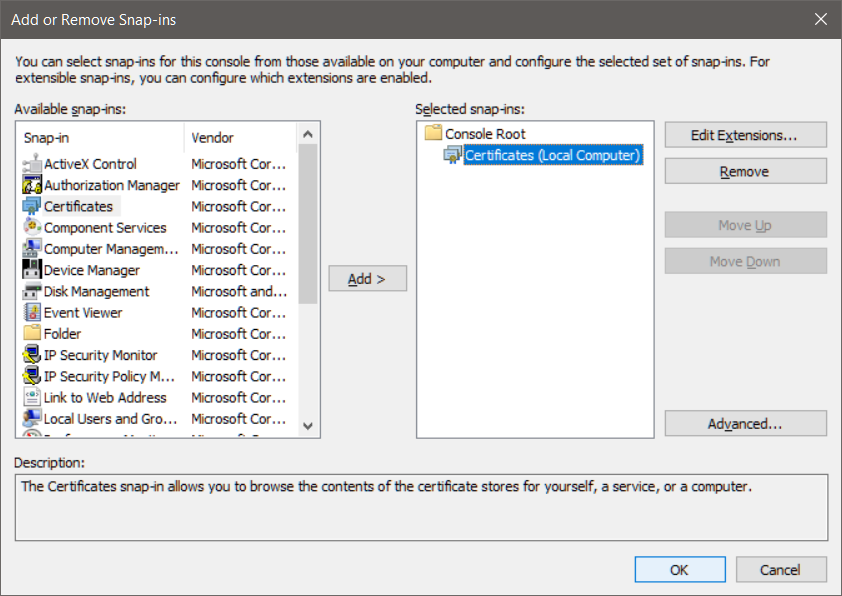
On the Add or Remove Snap-In window, you will find a list of all available snap-ins made available on your computer or localhost. Under this list, double click on Certificates to launch the Certificate snap-in.

-
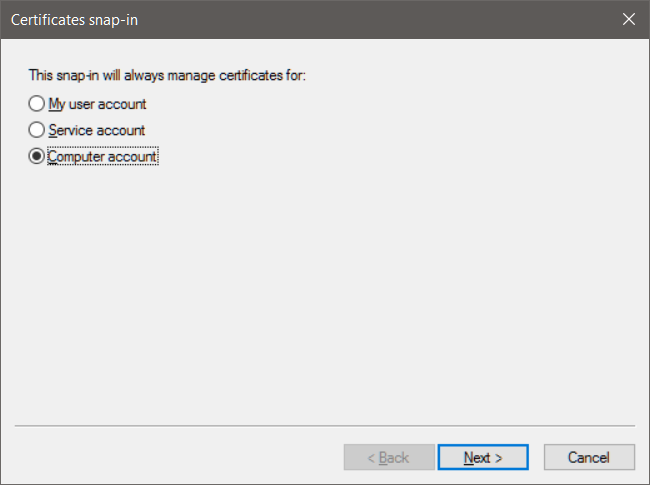
Under the certificates snap-in widow, select Computer account and click on the next button.

-
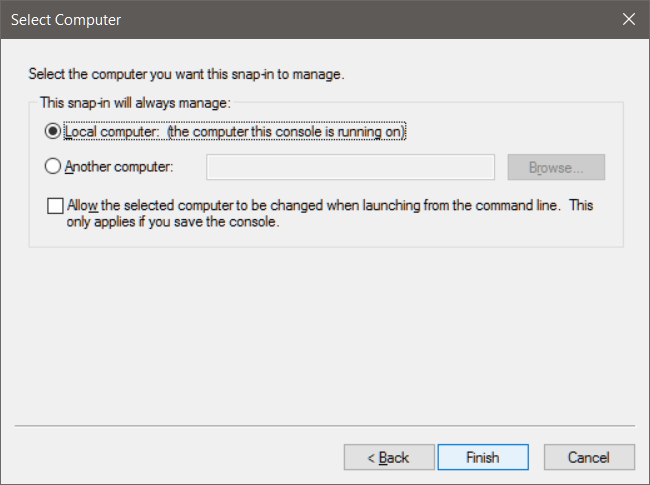
Next, we need to select which computer the selected snap-in. On this tab, select Local computer and click on the Finish button.
-
On clicking finish, you will once again see the Add or Remove Snap-in window with Certificates (Local Computer) under Selected snap-in list.
- Click on the OK button to close the Add or Remove Snap-ins window.
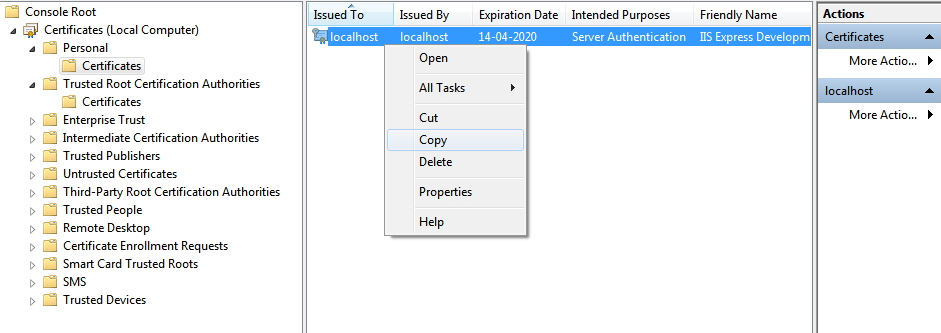
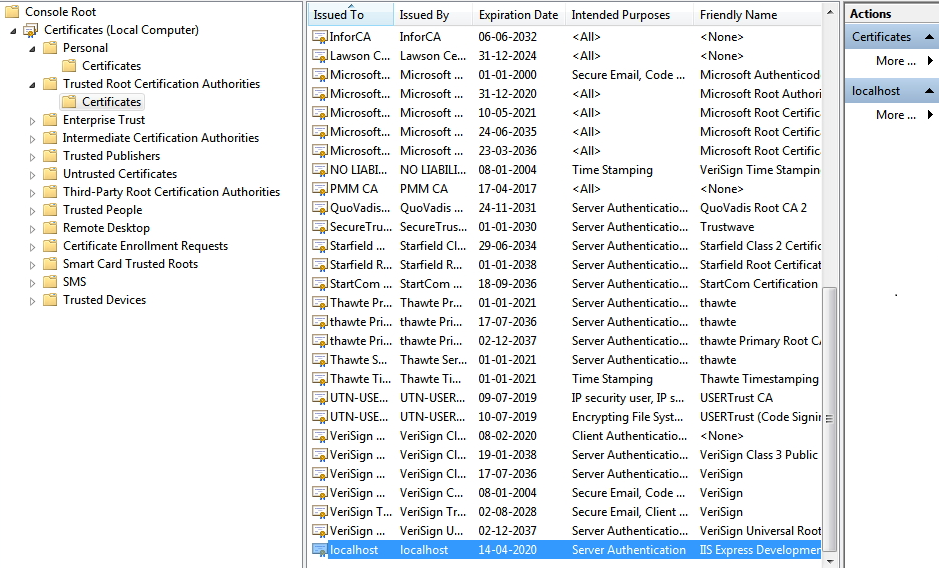
- Once again you have the Microsoft Management Console displayed along with a new tree like folder structure under Console Root. Expanding this folder structure by clicking on Certificates followed by Personal and Certificates to see a list of all certificates issued.
- Under this list you will find a localhost certificate issued to local host, issued by local host with intended purpose set to server authentication with a friendly name of IIS Express Development Certificate.
- This localhost certificate is issued by Visual Studio. But the certificate is not trusted as of yet. In order to do so, we need to move this certificate from the present folder to Console Root > Trusted Root Certification Authorities > Certificates.
-
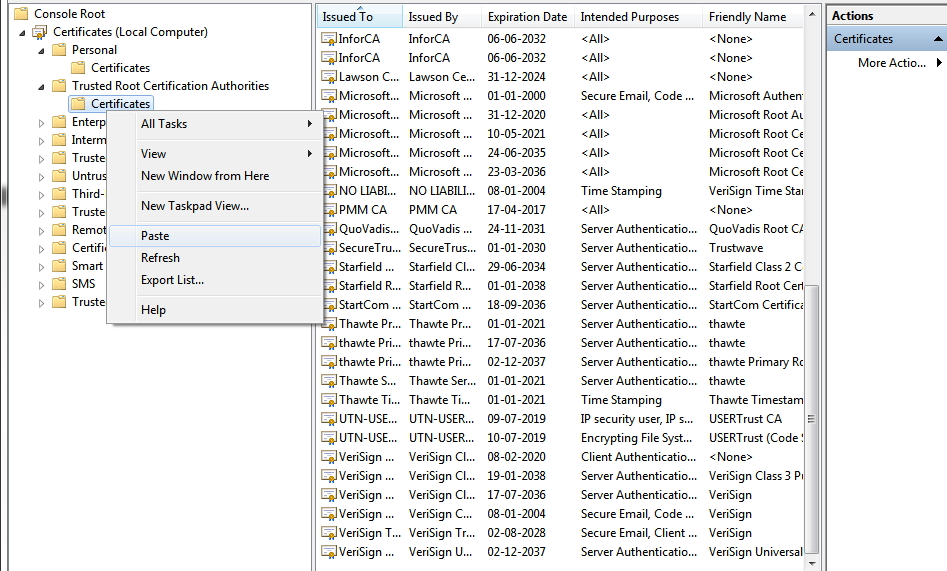
To move the certificate, we can either export our localhost certificate to an external file and later import the certificate into our Certificates folder under Trusted Root Certification Authorities or simply copy and paste the selected local host by using the right click context menu.


- Once we have successfully added the localhost certificate to the Certificates folder under Trusted Root Certification Authorities, close all browsers and relaunch the application.
- On relaunching the browser and navigating to the project URL you will see a valid certificate issue for the https protocol. You can also verify this behavior on various other browsers.
- You will now be able to access your project URL using both; the http as well as https protocol.