Azure website management console is type of shared hosting. You can only upload SSL certificate from Azure website console. To acquire SSL certificate, it requires you to generate CSR key. Now in Azure you cannot create CSR key and for this you should process this CSR and SSL installation using IIS Server. Then export SSL certificate from IIS and upload this SSL pfx file on Azure management console.
Now you’ve .pfx file ready to upload on Windows Azure hosting console. Your website should be configured in Standard Mode. See below steps 1 to 5 to know how to enable website standard mode in Azure Management Console. If you already have Standard mode enables, jump to step6 and continue SSL configuration.
Quick Steps to Install SSL Certificate on Microsoft Windows Azure Hosted Website
- Browse the Azure Management Portal
-
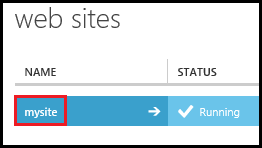
You can see the your site name under “web sites” tab, click on it.
-
Click on the SCALE tab.
-
Select web site mode as a STANDARD under general section.
- Save it and click on YES when prompted
- Browse the Azure Management Portal again.
-
Now click on your site name under web sites section and select CONFIGURE tab.
-
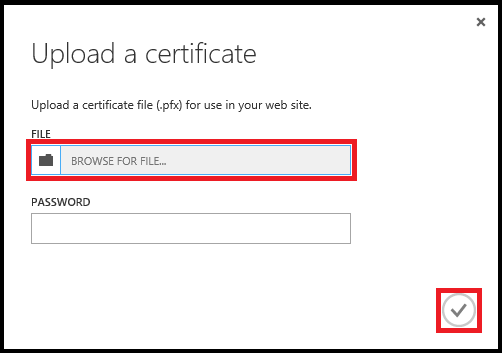
Click on the upload a certificate under certificates section.
-
Select the .pfx certificate file exported from IIS. Use same password used to create PFX file from IIS). Finally, click on the check mark.
-
Now look into ssl bindings section, select a domain name, a certificate and enable SNI SSL.
- IP based SSL associates a certificate with a domain name by mapping the dedicated public IP address of the server to the domain name. This requires each domain name (domain1.com, domain2.com, etc.) associated with your service to have a dedicated IP address. This is the traditional method of associating SSL certificates with a web server.
- SNI SSL extension allows configuring multiple certificates for multiple sites which are pointed on the same IP address.
- Save changes and enable SSL.


